#5 Git 연동하기
GitHub 계정 생성
GitHub: Where the world builds software
GitHub is where over 73 million developers shape the future of software, together. Contribute to the open source community, manage your Git repositories, review code like a pro, track bugs and feat...
github.com
Git 다운로드
Git - Downloads
Downloads macOS Windows Linux/Unix Older releases are available and the Git source repository is on GitHub. GUI Clients Git comes with built-in GUI tools (git-gui, gitk), but there are several third-party tools for users looking for a platform-specific exp
git-scm.com
작업파일 위치로 이동
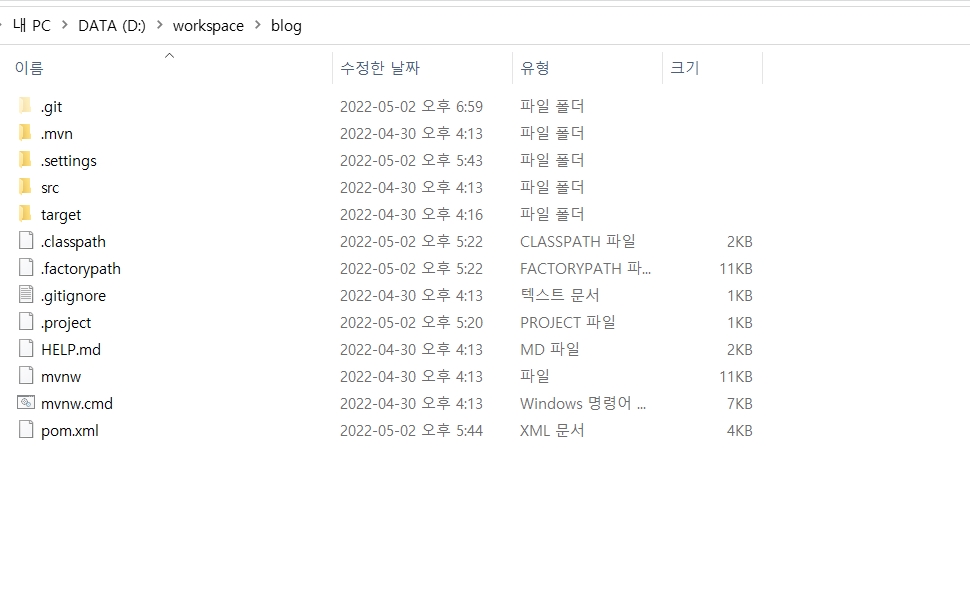
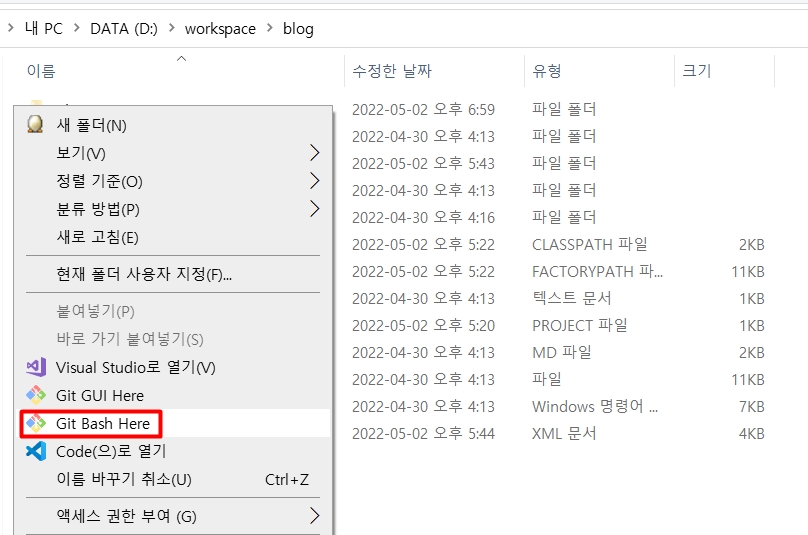
해당 폴더에서 빈화면 우클릭 - Git Bash Here 클릭
$ git init
깃을 시작한다는 명령어이다.
해당 명령어를 실행하면 작업파일 폴더에 .git이라는 숨겨진 파일이 생성된다.

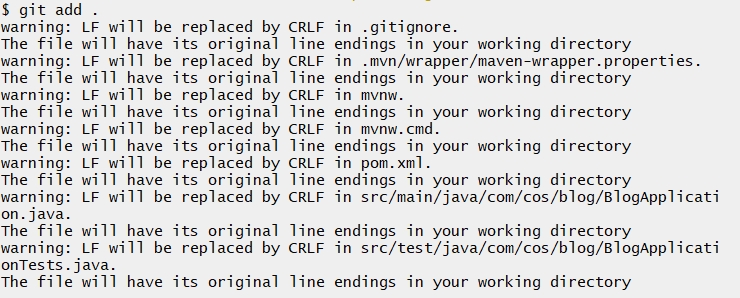
$ git add .
해당 폴더에 있는 모든 파일을 추가하는 명령어이다.
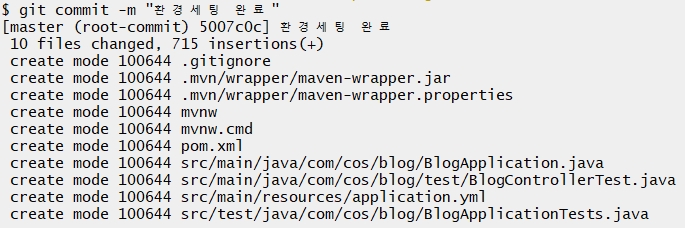
$ git commit -m "환경세팅 완료"
커밋을 해준다.
깃허브로 가서 우측 상단 계정 옆의 + 버튼을 누른 후
New repository 버튼 클릭

Repository name 설정 후 create버튼 클릭
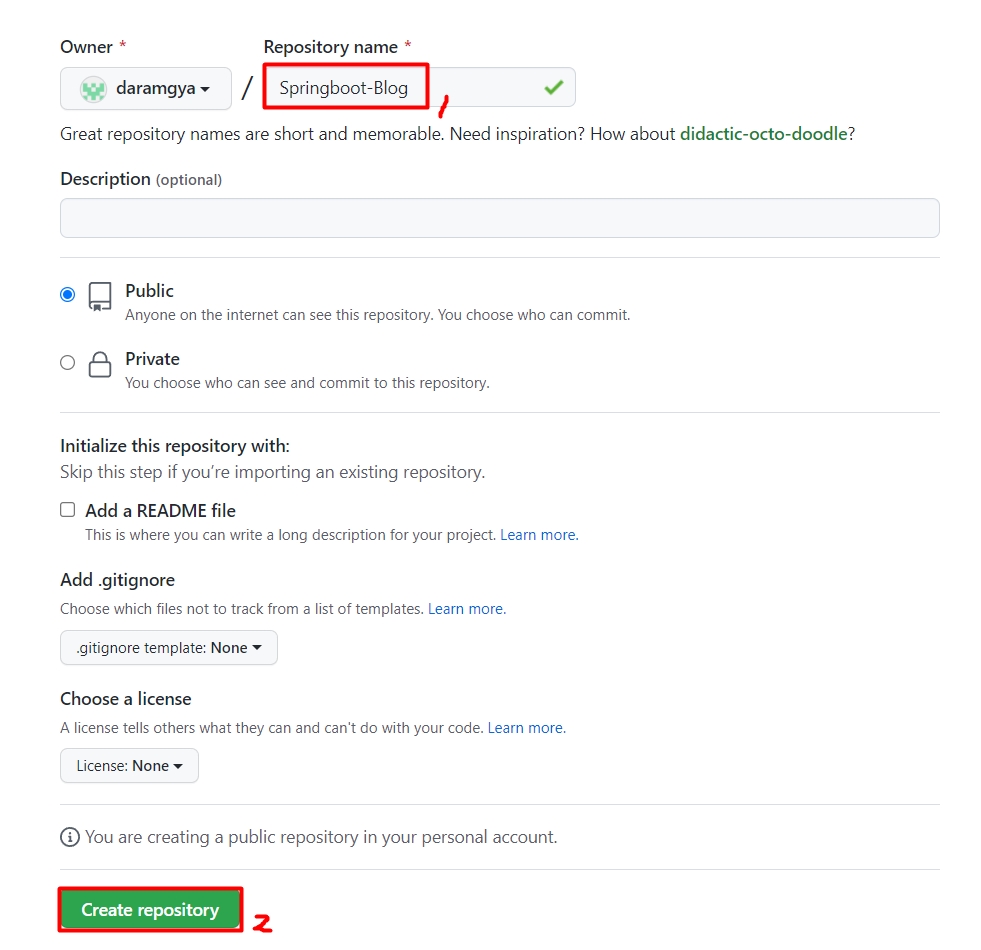
그러면 새로운 저장소가 만들어지는데, 해당 주소를 복사한다.
이제 내 컴퓨터의 프로젝트가 있는 폴더와 이 저장소를 연결해야한다.

$ git remote add origin https://github.com/daramgya/Springboot-Blog.git
내 컴퓨터의 프로젝트 폴더와 저장소를 연결할 수 있다.
주소는 아까 복사한 주소를 붙여넣기하면 된다.
이제 마지막으로 연결된 GitHub 저장소에 내 프로젝트 내부에 있는 모든 파일들을 업로드할 것이다.
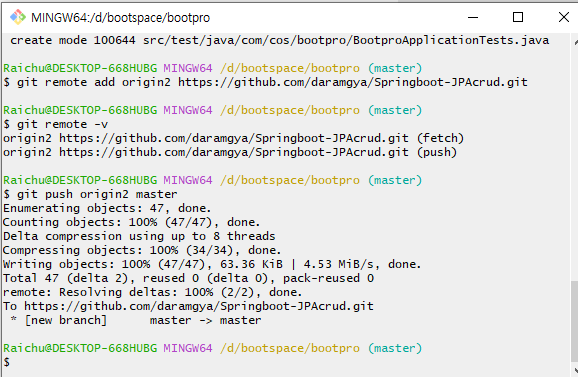
$ git push origin master
만약 The requested URL returned error: 400 오류가 발생할 경우
$ git remote set-url origin https://github.com/daramgya/Springboot-Blog.git 입력하고
다시 $ git push origin master 실행한다.
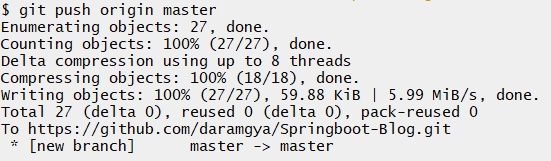
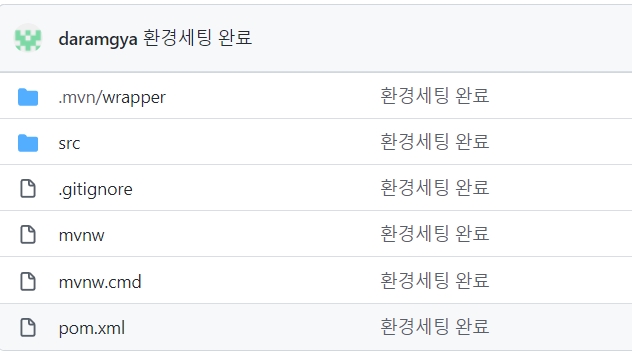
깔끔하게 내 프로젝트 파일들이 GitHub 저장소에 올라온 것을 확인할 수 있다.
참고자료 : https://youtu.be/O13vCHjKKuk
+ 추가
기존에 올렸던 프로젝트를 업데이트해 깃허브에 올리는 법
우선 프로젝트가 위치한 폴더로 이동해 우클릭을하고 Git Bash Here를 누른다.
창이 뜨면 해당 명령어를 순서대로 입력한다.
$ git add .
$ git commit -m "아무 메세지"
$ git push origin master
그러면 다음과 같이 업데이트 된 파일이 깃허브에 올라간다.

수정된 파일에 내가 입력한 "2022-05-05"가 적혀있다.
내용물을 확인해보니 깔끔하게 깃허브에 모두 업로드되었다.
+ 추가
다른 프로젝트 업데이트
새로운 Repository 연결
$ git remote add origin [새로운 Repository URL]